Tailor Reverb to Your Song
Running a source through a reverb plug-in is a great way to instantly make it sound better in solo, but the process of getting reverb to blend in with the rest of a mix isn’t quite so cut and dry. In this post, we’ve outlined some of the most important factors you’ll likely want to consider when dialing in a reverb of any kind!
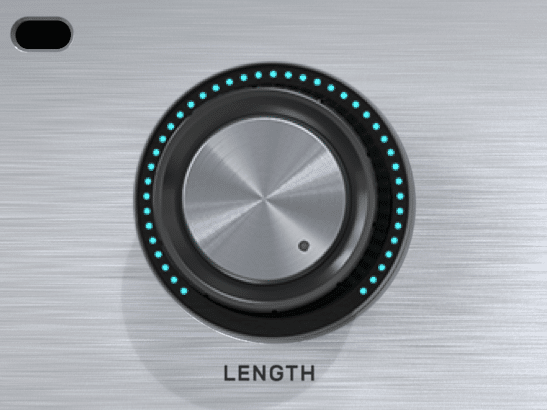
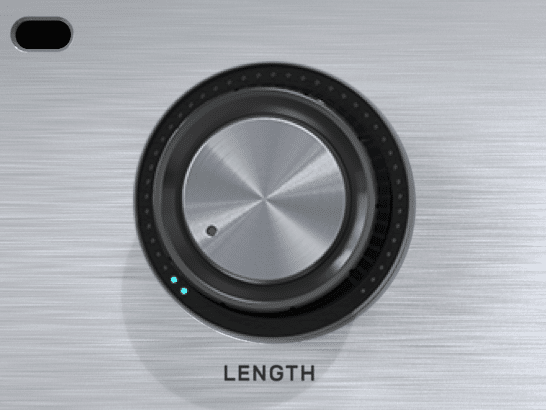
A reverb’s decay time is also sometimes referred to as its “tail” and refers to the amount of time it takes for a reverb’s sustain to die out. The higher this value is, the longer your reverb’s sustain will last, and lower values will produce a shorter sustain. Why is this important, though?
Setting your reverb’s decay time properly can make the difference between having a perfect reverb that fills in just the right amount of space and having a reverb that makes a mess out of your mix.
Slow and Fast Decay Times
Although your reverb’s decay time is always an important parameter to consider, timing your reverb’s decay time is a great way to apply reverb to drums!
Let’s say you have a snare drum track, and the drummer hits the snare on beat three of every bar. Try setting your decay time so that just as the reverb tail of one snare hit ends, another snare hit happens. This will allow you to perfectly fill in the gaps between snare hits and add the perfect amount of space!
Check out these audio clips below so you can hear the difference between a long decay time and a short one.
Let’s move onto filtering, which is another incredibly important factor to consider when dialing in a reverb plug-in.
Any time you use a reverb plug-in, it is likely that you will generate frequencies that weren’t present before. For example, a vocal reverb will almost always generate some low frequencies that weren’t as present, or present at all, in the vocal before the reverb was applied. That’s where filtering comes in!
The most common type of filtering that gets applied to reverbs is high-pass filtering, which gets rid of all frequencies below a user-specified point, but you can EQ, or filter, your reverbs in any way you’d like! By using a high-pass filter, though, we can tame, or completely get rid of, unnecessary lows and low-mids generated by a reverb plug-in.
Taking this extra step will go a long way in making sure your reverbs don’t clash with other elements of your mix and muddy things up.
Check out the audio clips below to hear the difference between a filtered reverb and an unfiltered reverb.
Next up is pre-delay, which is another parameter commonly found on reverb plug-ins.
Pre-delay specifies the amount of time it takes for reverb to output the processed signal after that signal has been fed into the reverb. For example, let’s say we have a pre-delay time of 20 msec on a snare reverb. Once the snare drum would hit, the reverb plug-in would wait 20 msec before playing back the reverberated sound.
Pre-delay is particularly useful for creating some separation between a dry signal and its reverb. Even incredibly short values could give your source exactly what it needs!
Not quite sure how pre-delay works? Check out the audio examples below to hear it in action!
Whether or not you’ll be to modify the type of space your reverb is emulating depends on which reverb plug-in you’re using, but be sure to check out this option when it’s available to you!
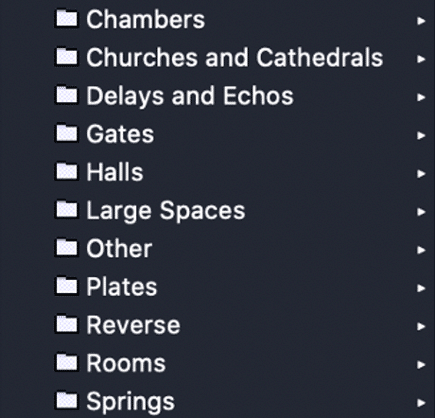
List of Common Space Types
Many reverb plug-ins come loaded with impulse responses of different types of spaces. For example, one impulse response might model a plate reverb, while another might model the reverb within a cathedral! Alternatively, you could have a reverb plug-in that has no impulse responses, but does it’s best to model different spaces, such as plates and rooms.
In any event, changing the type of space that your reverb is modeling is a great way to mess around with its tone, so go try it out!
To get an idea of how much different impulse responses and emulation modes impact the tone of your reverb, check out the audio examples below.
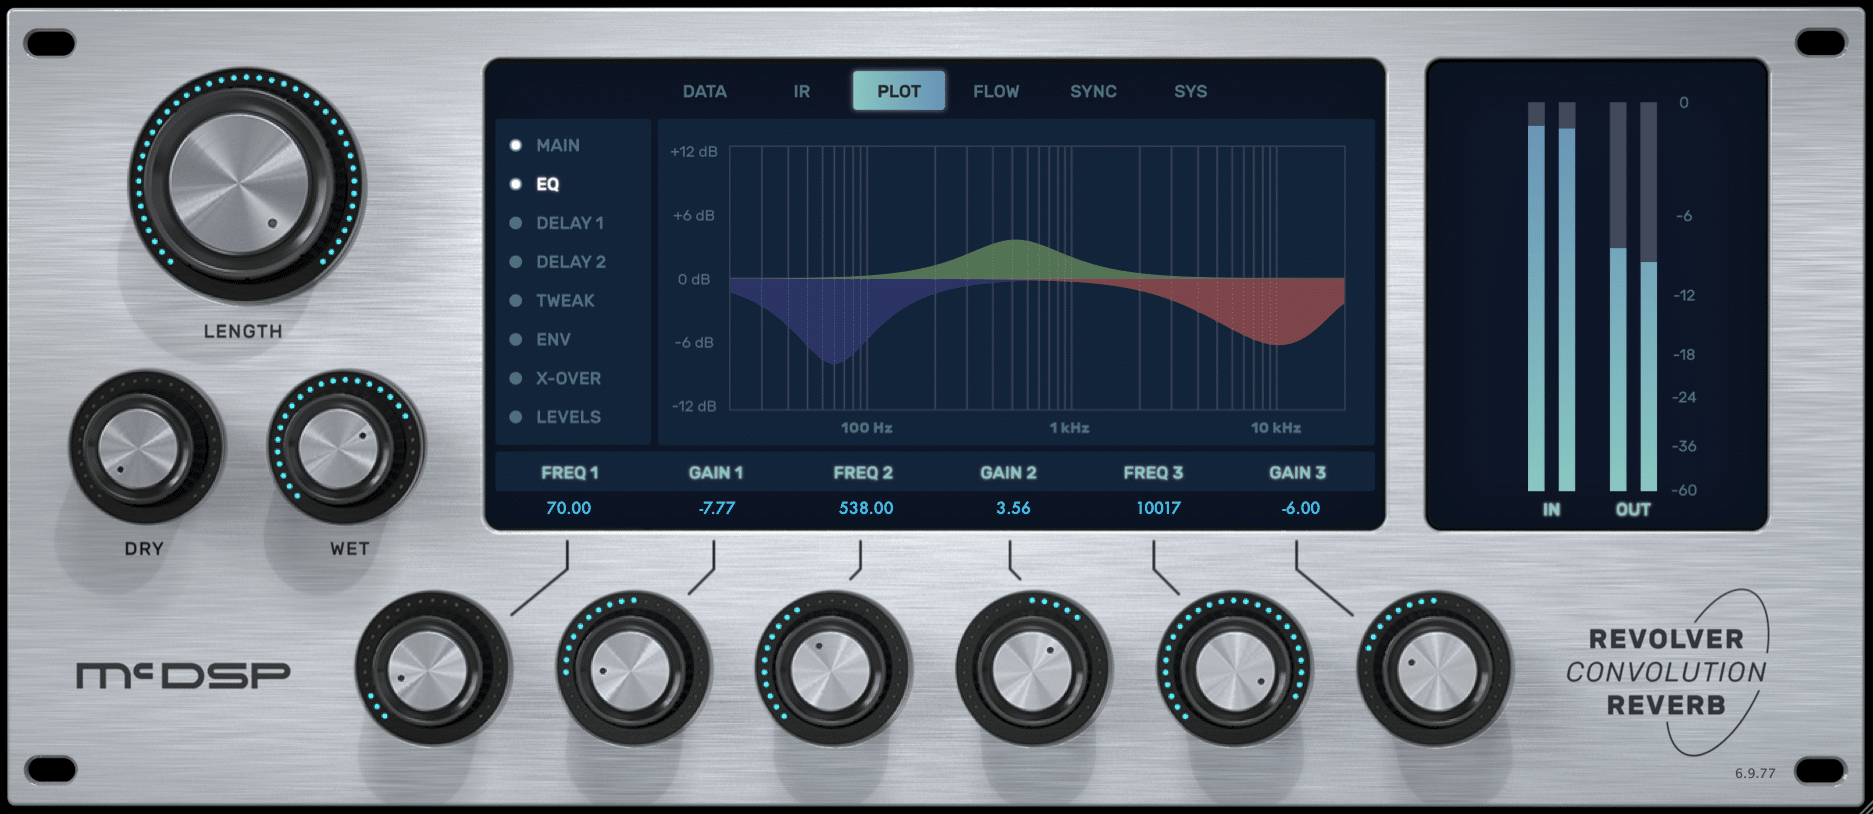
Get It All Done in One Plug-in: Revolver by McDSP
If you’re on the lookout for a one stop shop EQ plug-in that gives you control over all the above parameters and more, look no further than Revolver by McDSP!
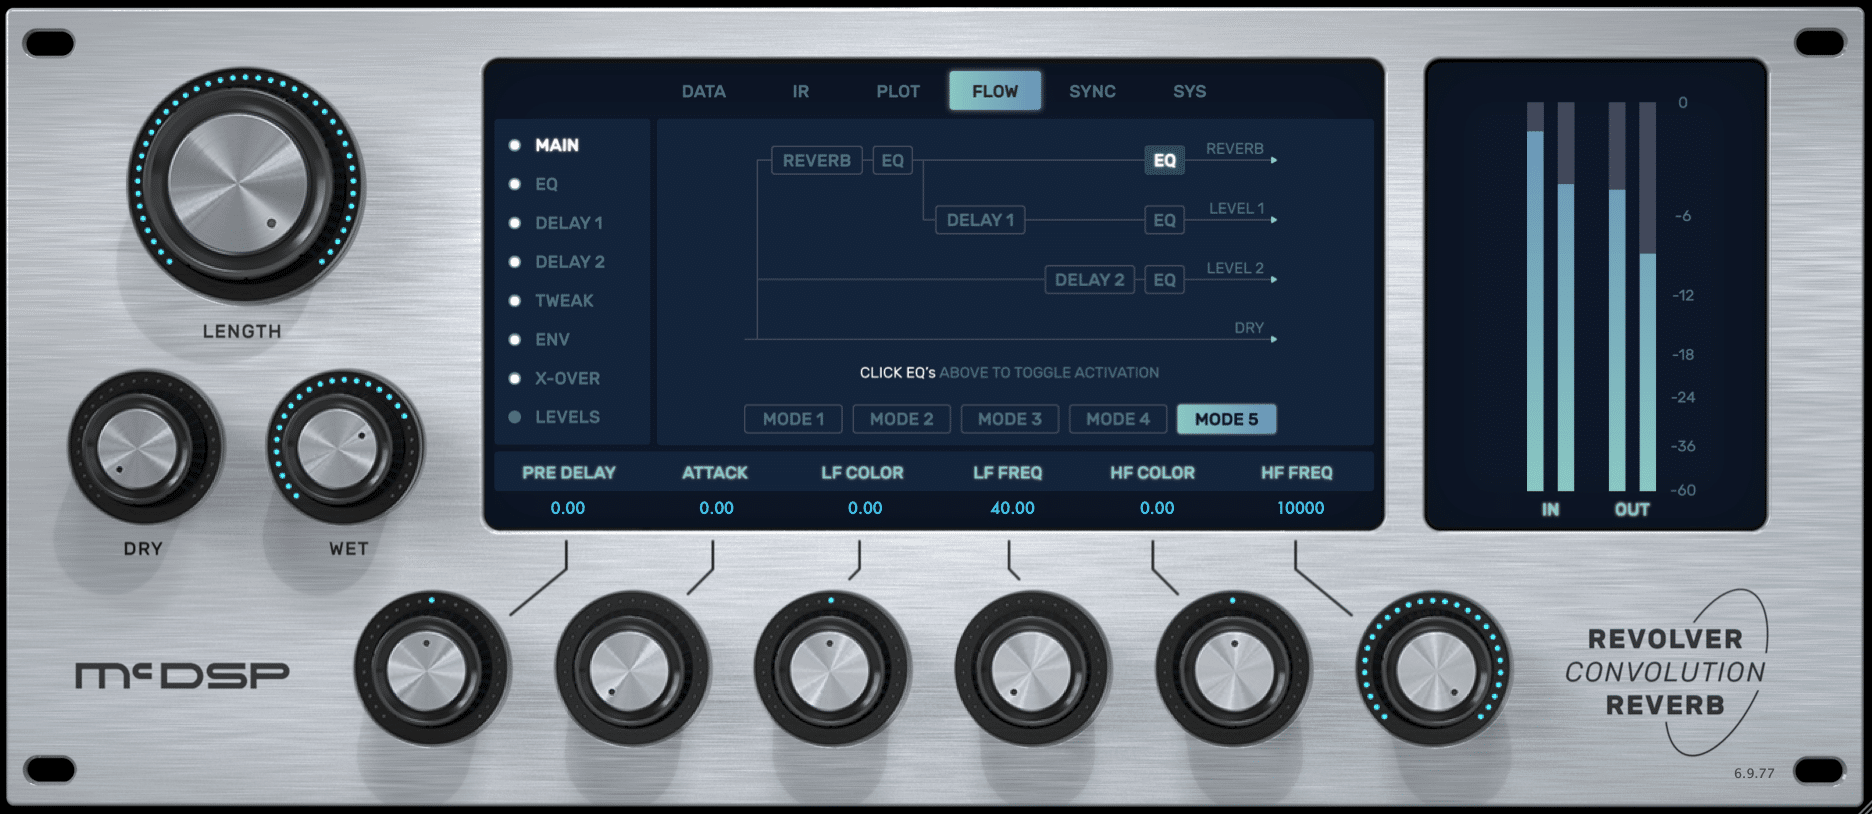
Armed with a huge preset library containing tons of impulse responses, three-band routable EQ, two sync-able delay lines, a flexible routing system, and more, this high-powered convolution reverb offers the utmost control over every aspect of your reverb’s sound. Its delay lines mean that you can even run a delay into your reverb, all without even needing to leave the plug-in!
If you’d like to get an idea of what it sounds like, you can do so by listening to any of the previous audio examples in this post, as they were all made with Revolver!
Want to check out Revolver for yourself? Try out a free 14-day, fully functional Revolver trial
here.As always, we hope you learned something new! Be sure to sign up for our newsletter below to stay up to date on all things McDSP. We’ll see you next time!